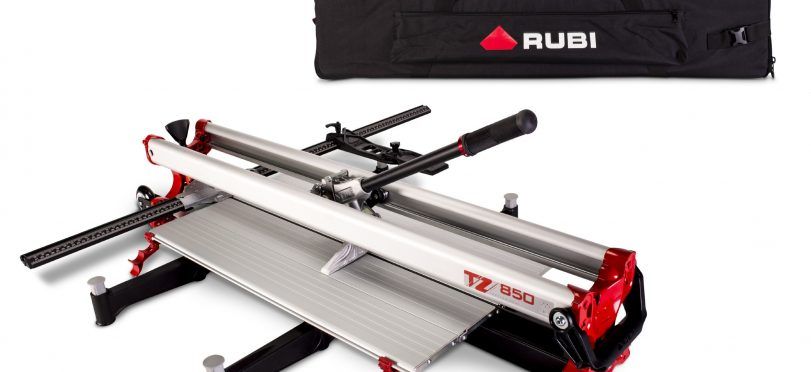
Tools for Tiling

Installing tile in your home is a huge job. Many try to save money by doing it themselves, but one thing that many people often overlook is just how many tools are required. And depending on whether you’re tiling a wall or a floor, will also call for a few different tools. Here’s just a few of the items required for tiling and what their used for. If you’re ever unsure what you may need, always seek out a professional for advice.
Backer board Seam Tape and Screws
Before tiling over an unfinished wall, you’re going to need to prepare the backer board by sealing the seams between the boards with seam tape in order to help create an even surface and minimize any shifting which may occur. Backer board screws are specially designed to adhere the backer board to the studs for the wall. Square head screws are suggested for their ease of use and are specially designed to drill into the backer board efficiently and sink in to create a nice smooth flush surface.
Carbide Tipped Nippers
Nippers are used to essentially nip off small pieces of tile in order to help shape tile to fit into difficult spots while being placed, most often when you get to your final row of tiling where there is less space or other object which the tile may need to fit around.
Grinding and Rub Stones
A grinding wheel is designed to attach to a hand tool or circular saw. The grinding wheel is fitted with special cuts, grooves and blades and is used for cutting and shaping tile. Rub stones are small blocks of stone which are used to remove rough edges from stones and tiles before being placed.
Grouting Products
When laying tile, grouting is essential to holding everything in place. There are numerous grouting floats, saws and trowels which are used to work the grout between the tiles as cleanly and efficiently as possible. Each is designed to ensure that you’re able to get the correct amount of grout into all the nooks and crannies and spread evenly. And don’t forget to get knee pads, your knees will thank you. And finally, you’ll need grout and mud mixer blades to help keep your grout and mud lump free so that it spreads easily, efficiently, and is able to adhere to the tiles.
Measuring and Marking
After you’ve prepared your wall or floor for tiling, you’ll first need to mark the area to ensure that the tile is laid evenly. This process can also help you plot out any designs you may be creating with tile patterns and also help prepare you for any special tile cuts you may need to make. Measure and marking can be done with specialized waterproof markers specifically designed to work on stone and tile. Chalk string is also a great tool for marking straight lines along walls and floors.
Utility Tools
A target guard chisel and a rubber mallet are always good to have on hand to help sculpt stone pieces to create a stone layout. The mallet is always great to have on hand just in case you need a little extra tap to make sure the tile is evenly in place before you grout.

